Guides - Insertion codes
- Guides
- General
- Customers
- Settings
- General settings
- Login settings
- Texts
- Customer tags
- Statistics
- Insertion codes
- Permanently delete data
- Direct debit (Only applicable for DK customers)
- Hardware shop (Only applicable for DK customers)
- Advanced settings
- Holiday / Closed
- Booking: Booking status
- Forms
- Record
- Scanning modules
- SMS
- Marketings triggers
- Mail merge
- Automatic data clean-up
- Substitution codes
- iCal Feature
- Tips
- SMS Add-On
- Cash Register Add-On
- Booking
- Gift Voucher Add-On
- Online Payment Add-On
- Marketing Add-On
- Record Add-On
- Form Add-On
- Documents
- Events
- For developers
- General
Insertion codes
An insertion code is the code needed to connect the booking system to your webpage. If you need help with inserting the booking system on your webpage, please do not hesitate to contact us. We are more than happy to help you with getting your booking system up and running. You will find this page with insertion codes via 'Settings' -> 'Insertion codes'.
The booking system can be shown on your webpage in two different ways: As an integrated part of your webpage where the customer does not notice that (s)he is transferred to another system or as a pop-up window. You also have the opportunity to add new insertion codes under 'Create new insertion code'. GECKO Booking will help you with inserting the code on your webpage free of charge.
You can edit the specific insertion codes, by pressing the settings symbol to the right.
Under 'Class / course – Calendar' you will gain access to the settings by pressing the settings symbol to the right.
Like the specific insertion codes above, you can also customize the insertion codes for classes/courses, through ‘Services', ‘Calendars', 'Customer group' and 'Language'. |


You yourself can create insertion codes that can be inserted in to newsletter registration page.
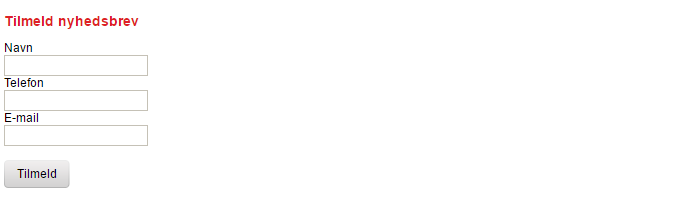
In order to create an insertion code, you need to type in the name/description of the code and press 'Update'. You can create as many multiple insertion codes as you want. Furthermore, you can edit the settings of the code(s) that you have just created. Here you have the option of choosing which spaces that should appear on the registration page. You can e.g. choose name, e-mail and tel. You can also choose if these spaces should be required. Finally, you can choose in which customer group the insertion code should place the customer in and/or which customer tag the 'newsletter customer' should have.
If you e.g. choose name, e-mail and telephone, the registration page could look like this:
|