General
Under 'General' you can change the following general settings:

- ID: See the ID of the cash register. Your cash register is automatically assigned an ID by GECKO Booking in order to keep the cash registers separated in our system.
- Name: Edit the name of the cash register. The name is not viewable by customers, but it can be used by you to separate multiple cash registers. For instance, if you have multiple locations and a cash register at each location, the cash registers can be named after the locations, e.g. ‘London' and ‘Birmingham'.
General cash register settings

- VAT %: State the VAT percentage. If your company is exempted from VAT, 0 is entered in the space.
- Show with/-out VAT: Determine whether it should be possible to change with/without VAT in the cash register.
- Discount type: Choose whether discounts should be entered in GBP or in %. By default, all discount spaces in the cash register system indicate a percentage discount.
- Only invoices: If you tick this, all purchases made in the cash register will always be created as invoices instead of receipts.
- Split invoice: You can put a tick in this box if you want the option of of splitting up an invoice between the customer and a debtor. In this way, the two parties pay a part of the total amount. The option will be available in the cash register and it is also here you state the amount to be paid by each party. Read more here.
- Collect bookings on receipt: Tick this to allow inclusion of all the customer's bookings of the day, when transferring a booking to the cash register.
- Auto print receipt: If ticked the print dialog is startet automatically.
- Auto e-mail receipt / invoice: If ticked, every sale, both by receipt and invoice an email will be sent automatically with either receipt or invoice depending on what was created. It is not possible to differentiate it, so only by invoice and not receipt. This only sends to the customer's email and not to a debtor mail.
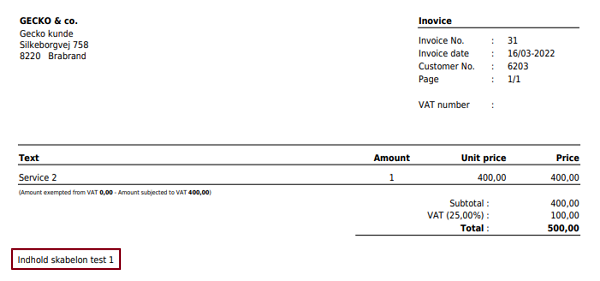
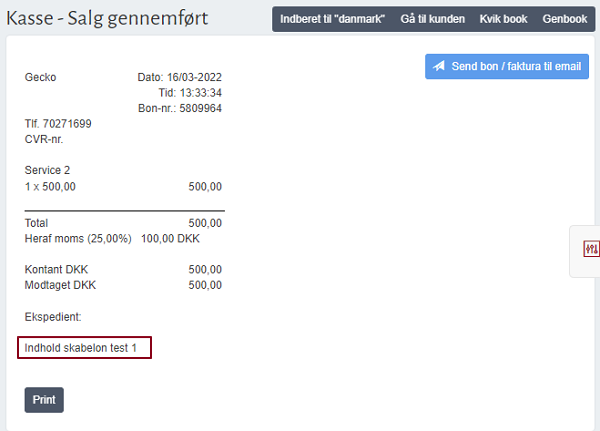
- Send e-mail on sale: If ticked, an email allows to send the content you have writen to the email addresses you entered. You can also set it to send automatically.
You can use it to Trustpilot for exampel.
Hardware and add-ons

- Barcode active: Determine whether the use of barcodes should be active. If you have a barcode reader and enter a barcode on your items, these can easily be scanned.
- Show no sale button: Activate a 'no sale button' in the cash register, allowing you to complete a no sale receipt, i.e. a receipt without an actual purchase. This feature could e.g. be used if you have a cash register drawer that only opens when a purchase is made. With this feature you can complete an empty receipt, whereby the cash register drawer will open.
- Activate TrueLink EAN invoice: If this feature is choosen, you can send invoices to the public sector directly from the cash register. This requires an account at TrueLink, that you need to activate via us. Additionally, it is required that you fill in the EAN number, VAT number as well as EAN att. on your debtor information. Read more about this .
Notice: you must use the button
Open and close register

- Verify primo on open cash register: Determine whether the primo cash balance must be verified against the ultimo balance of the last closed cash register.
You can also choose to show the last ultimo cash balance, when opening the cash register. In case there is a cash difference, you can choose to get a pop-up where you will have to either confirm the difference or change the amount you wish to open the cash register with.
Moreover, you can choose to receive an SMS if the cash register has been opened with an amount that differs from the ultimo cash balance from the previous day. Any cash difference will be included in the cash register statement of the day and in the export of cash register statement.
- Extended close cash register: If ticked, online invoices, debtor payments, debtor losses, interest rates and charges can be included in cash register report
- Send SMS when cash register is closed: Choose to receive a SMS when a cash register is closed. In addition to activating the feature, you must remember to enter at least one mobile number (Multiple numbers are separated with a comma (,)). It is also possible to edit the text in the SMS that is sent, when the cash register is closed. See which substitution codes you can use in the text under substitution codes for the cash register.
- Show employee sales: Set whether the employee sales statistics should be shown when you close a cash register. The statistics will be shown on the cash register statement that is shown when the cash register has been closed.
Restrictions

- Force choose customer: Determine whether a customer must be chosen before a purchase can be completed.
- Force shop assistant: Determine whether a shop assistant must be chosen before a purchase can be completed.
- Force employee: Determine whether an employee must be chosen before a purchase can be completed.
- Force open cash register new day: Activate that the system requires a new cash register to be opened after midnight. Thereby, making it impossible to use the same cash register on different dates.
- Force close cash register before a new can be opened: Activate that the system requires an open cash register to be closed before a new can be opened. This way, you ensure that a cash register is balanced before a new cash register is opened.
- Force no parked receipts when closing cash register: Activate that a warning pops up if any parked receipts exist, when you close the cash register. Hence, making it impossible to close the cash register before you have either confirmed or deleted the parked receipts.
- Force 'closed by' when closing cash register: Put a tick here if you wish that it should be noted which employee who closes the cash register. If this is not ticked, it is made optional whether to note this.
- Editing of price in item lines allowed: Determine whether it should be possible to edit the 'Price', 'Discount', and 'Total' spaces in the item line. If the box is not ticked, you can only sell items for the standard price.
- Item no. must exist: If you put a tick here, an item no. must be created before a purchase can be made in the cash register. This means that when you write an item in the item line there must be an item no. attached. If the item does not have an item no. you will get a warning that makes you aware of this.
- Editing withdraw amount on vouchers allowed: Tick this to be able to determine the amount that should be withdrawn from the voucher by purchase via the cash register. This could be useful, if the customer, for instance, has a gift voucher for 850 DKK and purchases an item for 100 DKK, but wishes to pay half of the amount in cash. In this case only 50 DKK should be withdrawn from the voucher, instead of the entire amount. Another example could be, if the customer buys an item for 95 DKK, where you will be able to change the amount that should be withdrawn from the voucher to 100 DKK, in order to be able to give the customer 5 DKK back in change.
- Editing in voucher sum allowed: Determine whether it should be possible to edit the voucher sum in the cash register and on the cash register statement. This could be used if you want to be able to give back change, e.g. if a voucher has a balance of 50 GBP but only 47 GBP should be paid. If this feature has been activated, you can withdraw 50 GBP from the voucher and give the customer 3 GBP in change. Please note! If you have activated the 'Editing in voucher sum allowed'-feature, the extra amount you choose to withdraw besides the required amount is not automatically withdrawn from the voucher. This withdrawal must be done manually on the voucher. If not, the customer will have a voucher with a remaining balance. In the example above, the customer will have a voucher with a value of 3 GBP, but (s)he will also have received 3 GBP in cash.
- Redeem old voucher: Determine whether it should be possible to redeem expired vouchers in the cash register.
- Redeem personal voucher for other customer: Determine whether it should be possible for vouchers, belonging to one customer to be redeemed by another customer (for more information about personal vouchers see the separate guide Gift Voucher Add-On).
- Create and use on same receipt:
Sell a voucher via the cash register and simultaneously use it as payment method. This means that if your customer has received a service and afterwards wishes to buy a MultiPass voucher for 10 treatments, you can now sell the voucher to the customer and at the same time detract a pass for the treatment the customer just received.
When adding a voucher at the register it will be visible right away.
If you have check-marked the possibility to choose a 'valid from' date for the voucher, this function will be deactivated when used, and the voucher will then be valid from that date.
The receipt will show that the service/item is paid with the voucher. Simultaneously the MultiPass has been detracted with 1 pass.
Please note! If you wish to use the voucher at the purchase, you need to tick it in order to use it. See go to cash register for more information on how to use vouchers in the cash register.
Online orders

- Cancel not paid online order: Tick this to automatically mark ‘unpaid online orders' as cancelled when they are taken to the cash register and paid there.
- Take booking to cash register: Activate that changes to the booking are likewise transferred to the cash register, e.g. if you have made changes to the booking in terms of ‘payment by turn up'. Please note! This is only valid for unpaid orders.
Remember to click on 'Update' to save any changes!
|